Примечание:
1. Принтер транспортных этикеток для малого бизнеса не поддерживает Wi-Fi или Bluetooth. Используйте USB-кабель для подключения к ПК или ноутбуку.
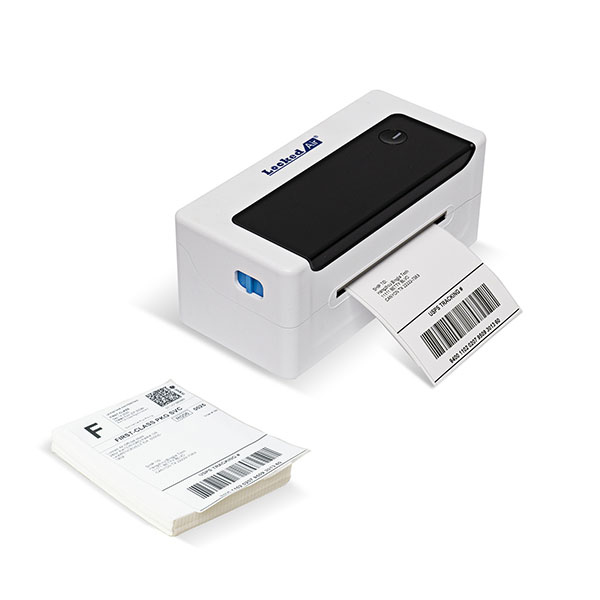
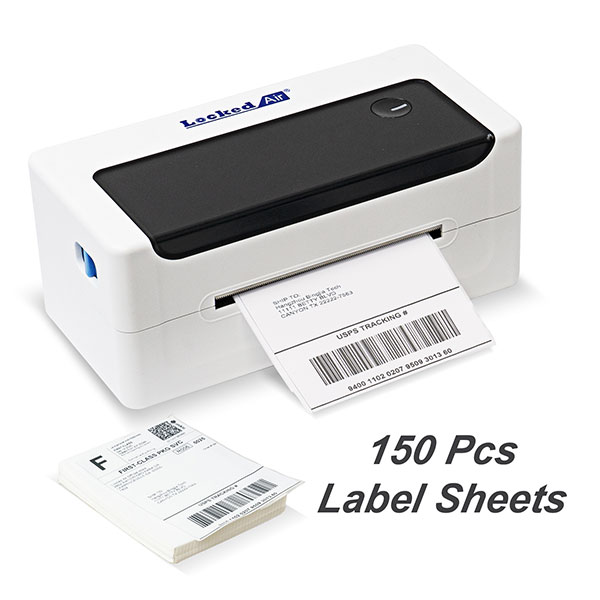
2. В упаковке нет держателя этикетки или лотка. Вы можете просто положить сложенные веером этикетки на стол.
3. Этот термопринтер этикеток 4x6 совместим с MAC OS 10,9, MAC OS 10,15, MAC OS 11, MAC OS XP, Linux(ubuntu), Windows 03,Windows 7,Windows 8, Windows 10.
Спецификация:
| Спецификации машины |
Метод печатания | Термальная линия принтер |
Метод загрузки бумаги | Легкая бумажная загрузка/автоматический бумажный питаться |
Скорость печати | Обнаружение фактической скорости: 127,38 мм/с |
Ширина бумаги печатания | 104 мм |
Эффективное разрешение | 203 dpi (300 dpi опционально) |
Тип бумаги | Непрерывная бумага, бумага ярлыка, черная бумага ярлыка |
Толщина бумаги печатания | 0,06-0,18 мм |
Эффективная ширина печати | Минута 38 мм Макс 112 мм |
Размер символа | Шрифт A ASCII: 12x24 ASCII Шрифт B: 9x17 Китайский иероглиф 24x24 |
Тип интерфейса | УСБ |
Адаптер питания | 24 В постоянного тока-2,5 А |
Рабочая среда | Рабочая температура: 0- 45 ° C, Влажность при эксплуатации: 20-90% |
Среда хранения | Температура хранения:-10 ~ 60 ° C, Влажность хранения: 10-90% |
Устранение неполадок
В таблице ниже показаны общие проблемы и решения для операторов.
Если вы следовали простым методам устранения неполадок, но принтер все еще не работает должным образом, обратитесь за помощью в отдел обслуживания клиентов вашего дилера.
| Устранение неполадок |
Индикатор питания выключен | А. Вилка переменного тока и вилка источника питания неправильно подключены к разъему принтера. Б. Выключатель питания принтера не горит. | А. Проверьте подключение питания и убедитесь, что вилка переменного тока и вилка источника питания правильно подключены к разъему принтера. Б. Включите принтер. |
Не удалось напечатать | А. Кабель связи неправильно подключен к принтеру и хосту ПК. Б. Ошибка настройки интерфейса связи. C. Ошибка состояния печати. | А. Подключите кабель связи. |
Неполное содержимое печати | А. Бумага не центрирована. Б. Неверная установка размера этикетки. | А. Отрегулируйте положение бумаги. Б. Установите правильный размер этикетки. |
Неправильное позиционирование | A. Обучение этикетке не выполняется. Б. Фотопара обнаружения этикетки шва смещена. C. Неправильный режим выбран. | A. Обучение этикетке осуществляется. Б. Откройте крышку, чтобы подтвердить, смещен ли компонент обнаружения этикетки шва. Для черной этикеточной бумаги переместите компонент обнаружения этикетки шва в соответствии с положением черной этикетки, чтобы фотопара обнаружения могла обнаруживать черную этикетку. Этикеточная бумага/непрерывная бумага Фотопара detedion должна быть в диапазоне бумаги. C. Используйте инструмент настройки, чтобы открыть информацию о принтере и подтвердить, совпадает ли тип бумаги с загруженной бумагой. В принтере, который можно изменить с помощью tod настройки. |
Плохой результат печати | А. Ошибка загрузки бумаги. Б. Распечатайте ошибку установки денсрты/скорости. C. Печатающая головка/резиновый ролик имеет накопление пыли или клея. Г. Печатающая головка повреждена. | A. Перезагрузка документа. C. Очистите печатающая головка/резиновый валик. (См. 8,1 "Очистка печатающей головки"/82 'Датчик очистки * 78,3 "Очистка печати Резина RoHeT Руководства.) D. Используйте инструмент настройки для d * ct плохой точки Головной части. Если печатающая головка повреждена, обратитесь в отдел обслуживания клиентов вашего дилера по ремонту ftx. |
| Причина явления неисправности Решение |
Феномен неисправности | C. Причина | C. Решение |
Индикатор питания выключен | D. Штекер переменного тока и штекер источника питания неправильно подключены к разъему принтера. Д. Выключатель питания принтера не включен. | D. Проверьте подключение питания и убедитесь, что вилка переменного тока и вилка источника питания правильно подключены к разъему принтера. Е. Включите принтер. |
Не удалось напечатать | D. Кабель связи неправильно подключен к принтеру и хосту ПК. Е. Ошибка настройки интерфейса связи. F. Ошибка состояния печати. | А. Подключите кабель связи. |
Неполное содержимое печати | C. Бумага не центрирована. D. Неверная установка размера этикетки. | C. Отрегулируйте положение бумаги. D. Установите правильный размер этикетки. |
Неправильное позиционирование | D. Обучение этикетке не выполняется. Е. Фотопара обнаружения этикетки шва смещена. F. Неправильный режим выбран. | D. Обучение этикетке осуществляется. Е. Откройте крышку, чтобы подтвердить, смещен ли компонент обнаружения этикетки шва. Для черной этикеточной бумаги переместите компонент обнаружения этикетки шва в соответствии с положением черной этикетки, чтобы фотопара обнаружения могла обнаруживать черную этикетку. Этикеточная бумага/непрерывная бумага Фотопара detedion должна быть в диапазоне бумаги. F. Используйте инструмент настройки, чтобы открыть информацию о принтере и подтвердить, совпадает ли тип бумаги с загруженной бумагой. В принтере, который можно изменить с помощью tod настройки. |
Нажмите, чтобы увидеть подробные спецификации
 中文
中文

 Jun 07,2024